

I had gotten a charm pack, originally planning on making them some awesome coasters for their Christmas gift but then I got a gift card to my local quilt shop and I bought another charm pack and some yardage from that line so I could make something better...but I didn't know exactly what yet.
I had some old jeans that didn't fit me anymore (thank you kids for that extra baby weight!) and I couldn't just throw them away, it seemed so wasteful! Inspiration hit...I'd make a denim rag quilt! I didn't have quite enough denim so I went to Goodwill and bought a few more pairs. Then I went to work! More after the jump.

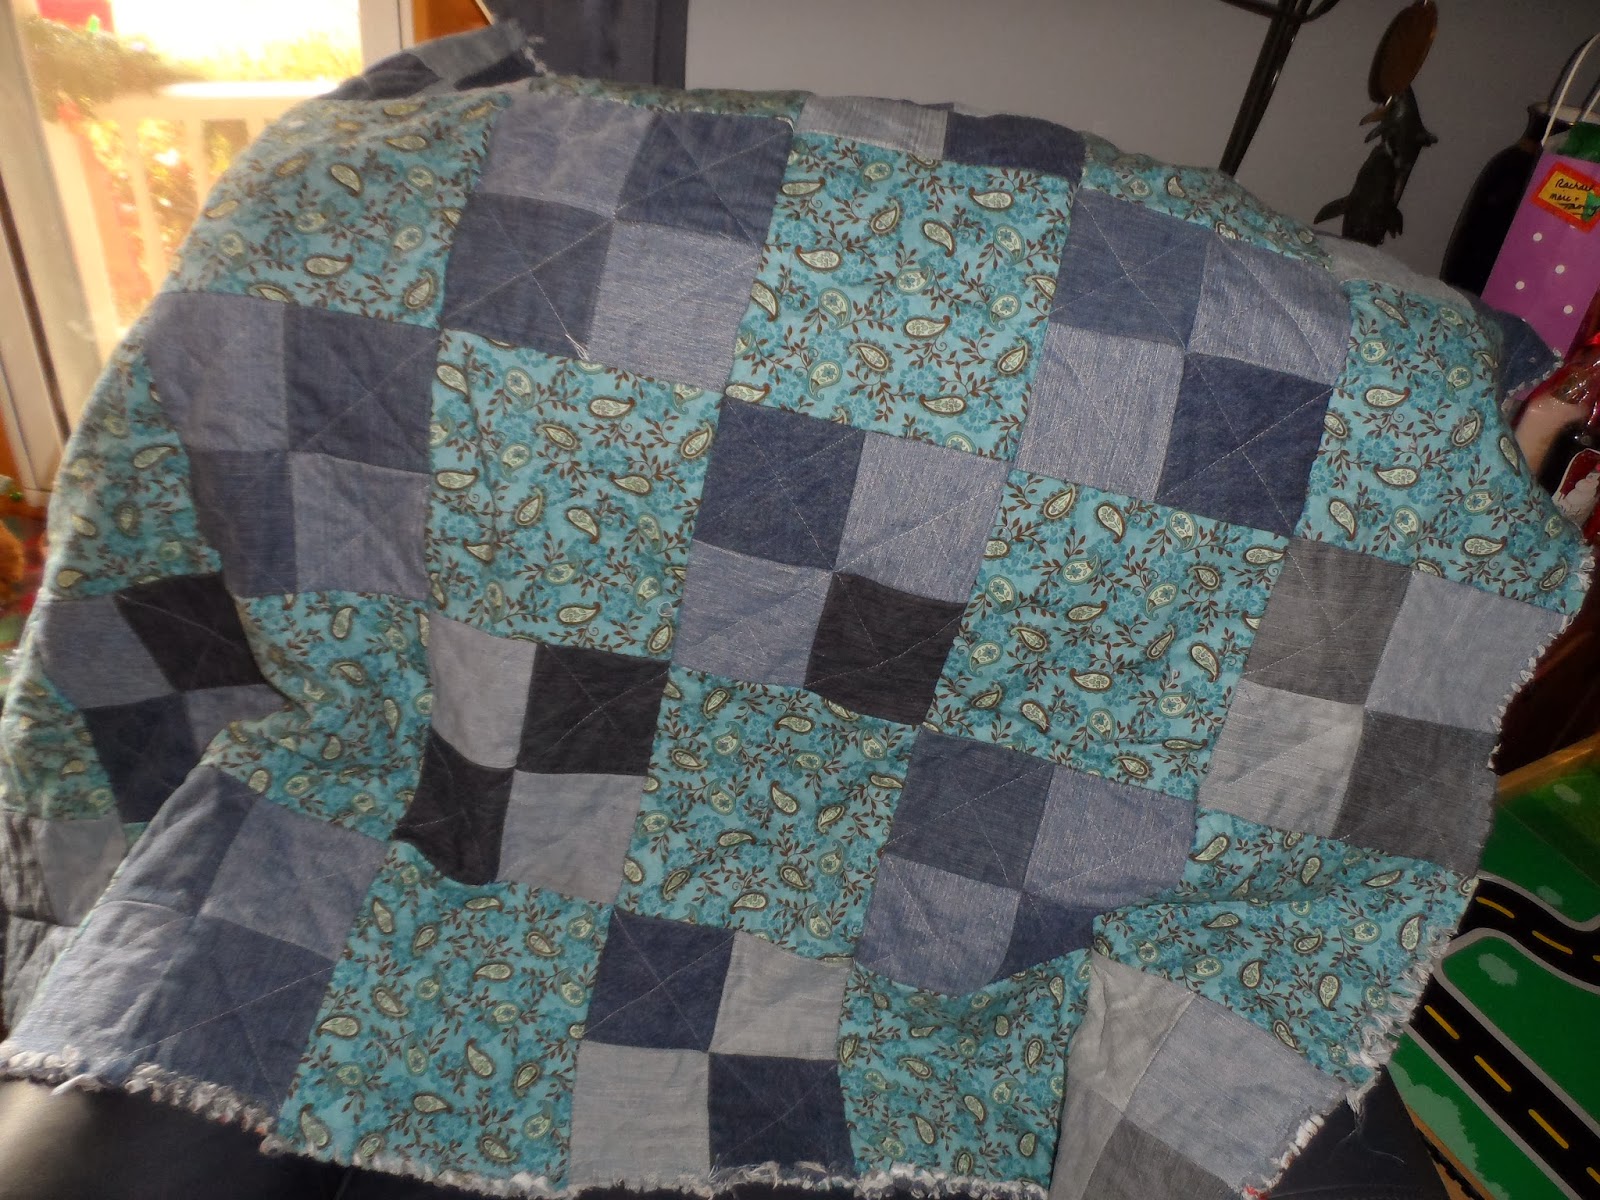
First I planned it all out on graph paper. I had the 5" squares from the charm packs but even still those alone would have made a small blanket, so I incorporated the larger squares. But I'm not the best at math and really had no clue what I was doing and my math ended up wrong because I wasn't factoring in the seam allowance in between the charms so the big squares ended up being 9.5", half an inch larger than they needed to be. That made it quite interesting when I went to sew the blocks together. But instead of cutting them down I made things more difficult on myself and figured it would just be extra ragging...which was the case, but it was complicated trying to line them up. So don't make my mistake if you make one.

2 charm packs I used Family Tree by Moda which was perfect for the couple
yardage of coordinating fabric for the back
lots and lots of old denim
lots of flannel for the middle, optional. I chose to add this because the light fabrics against the denim changed the colors and I wanted my whites white. You can use batting as well but be warned, even with just flannel it was HEAVY.
Plan your pattern out on graph paper to determine how many of each size block you need...or you can simply use all the same size squares (or use a jellyroll and make it strips!). You'll want the front fabric, your backing fabric, and if you choose to use add a middle layer either batting or flannel. Cut the middle layer 1/2" smaller than the rest of the squares. Make a small quilt sandwich...backing right side down, middle fabric centered, top fabric right side up...and stitch an X to secure the middle down so it doesn't shift in washing and use.
Sew your squares together WRONG sides together with 1/2" seam allowance. Sew all your rows first, then you can sew the rows together. If you are using a pattern like mine sew all the 4 patch blocks first then start your rows. Once all your blocks are together sew around the entire perimeter of the quilt with the same 1/2" seam allowance.
Then plop yourself down in front of the TV for a while to clip those seams. (Do yourself and your hands a favor and get some spring loaded rag snips. I got these and they worked great, easily cutting through 3 layers including denim.) You'll want to clip the exposed seams about 1/2" apart and down to but NOT CUTTING THROUGH the thread. If you accidentally clip the thread you'll have to go back over it at the sewing machine and who has time for that? I know I didn't.
 ... ... |
| I used a leaf stitch built into my machine around the perimeter of the quilt, it added a really nice touch. |

 |
| The back! I wish I had paid more attention to the directions of darks and lights |
 |
| I had a few extra charms so I used one for the applique on the center block. Their last initial, then I used the built in font stitching on my sewing machine to put their wedding date below it. |
If you make one I'd love to see it! I'm already working on my second rag quilt, this time for my youngest son and I can't wait for it to be done!
No comments:
Post a Comment